I am something of a handyman. I often make repairs around our house and property. I am, by no means, an expert at plumbing, electrical, or concrete work but I understand the principles and can usually cobble my way through a repair project. For small repairs I often employ the familiar tools and various glues, a staple gun, nails, screws, and yes: even duct tape. But today I needed to make a repair for which none of these would help. Today I needed to bring into service — a needle and thread!
One of the dogs got overly enthusiastic and tore a hole in the cover of a dog bed. Discovering that there was “stuff” inside, she proceeded to pull what was inside, out. Thus she tore the end off one of the fabric tubes full of fiberfill that makes a bolster around the dog bed. She also pulled a basketball sized wad of fiberfill out. I caught her at it, gathered the filler and put the bed up until it could be repaired. Today, I tackle that.
Marie pulled out her sewing basket before she went off to work. That’s her equivalent of my tool box. When the afternoon turned hot, I retreated from my yard work and turned to repairing the dog bed.
One does not live for over 60 years — some of them as a bachelor — without learning how to thread a needle and sew a button back on. I know how to do a simple rolling stitch to close up a tear. And that is about the extent of my sewing experience. Let’s see if it is enough.
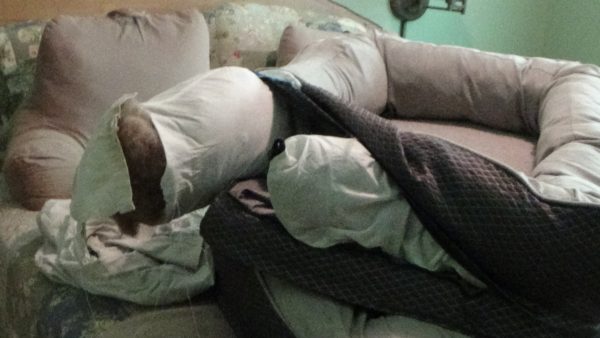 I started by unzipping the cover to expose the ripped pillow within. I needed to replace the fabric that was the end of this fiber-filled tube.
I cut a square piece of fabric from an old pair of pants, tacked it down in two places to keep it roughly in position, and began sewing the edges of the patch around the sides of the tube. I snipped away corners and installed folds where I had to to get it to bend around the circumference.
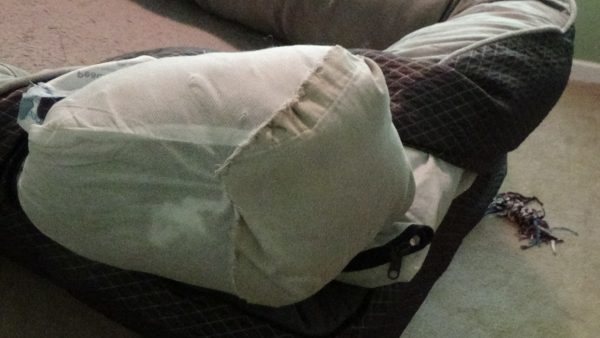 The result is rough looking, but that doesn’t matter. This will be inside the bed, out of sight. And … it’s a dog bed, not a pair of dress slacks. No point in getting too O.C.D. over this. I need to keep the fiberfill inside the tubular pillow: that’s all.
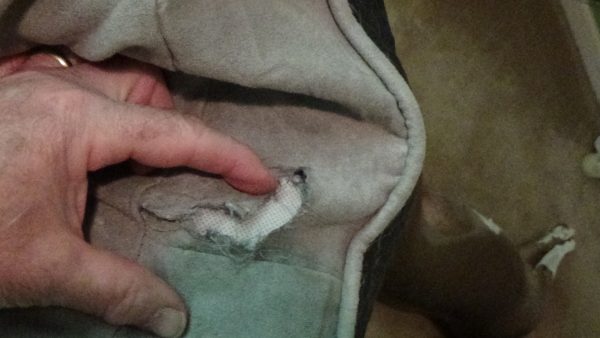 Then I turned to patching the outer cover. A messy triangular tear. I snipped away the loose threads, changed color of thread in the needle . I worked a little more carefully here, this will be visible, and subject to re-tearing: small, tight stitches are called for.
 The end result is by no means an invisible repair — I had not even dared hope for that — but it should hold. At least it should hold as long as no dog sees it and thinks, “Hey, what’s THIS?” and starts teasing at it.
I was careful not to stitch the cover to the bolster inside too. I’m kinda proud that I even considered that possibility. I’m sure that’s a common rookie mistake.
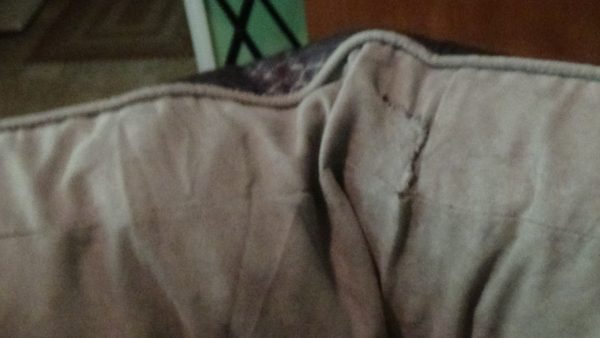
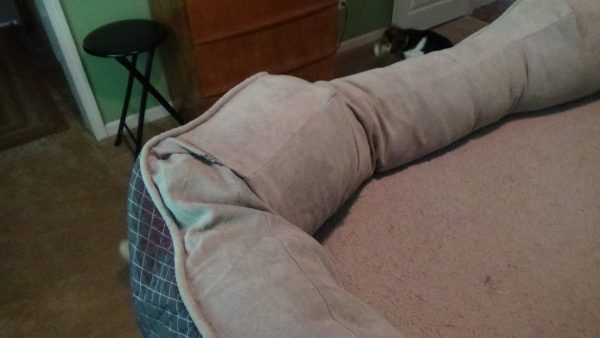 As I closed up the zippers and formed up the bed, I found that I could hide the cover repair inside a fold at the corner. That may help discourage curious investigation.
 So this dog bed is back in service and Callie is grateful for that. Time will tell whether or not I did a proper job of it, but for the moment I’m feeling good about this repair job with unfamiliar tools.
| If you enjoy our updates, Doggy Tales, and educational articles consider subscribing for notices when new pieces are posted. It’s painless and you can unsubscribe any time you want. Your e-mail address is used ONLY to deliver these notices. | [email-subscribers namefield=”YES” desc=”” group=”Public”] |