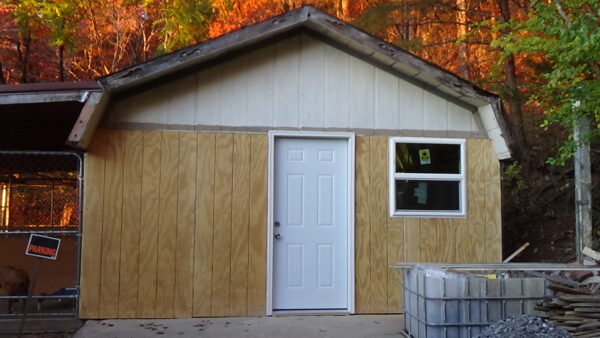
Construction on the front wall part of this project is done. I still need to prime the bare wood and install trim, but the hard work is finally done.
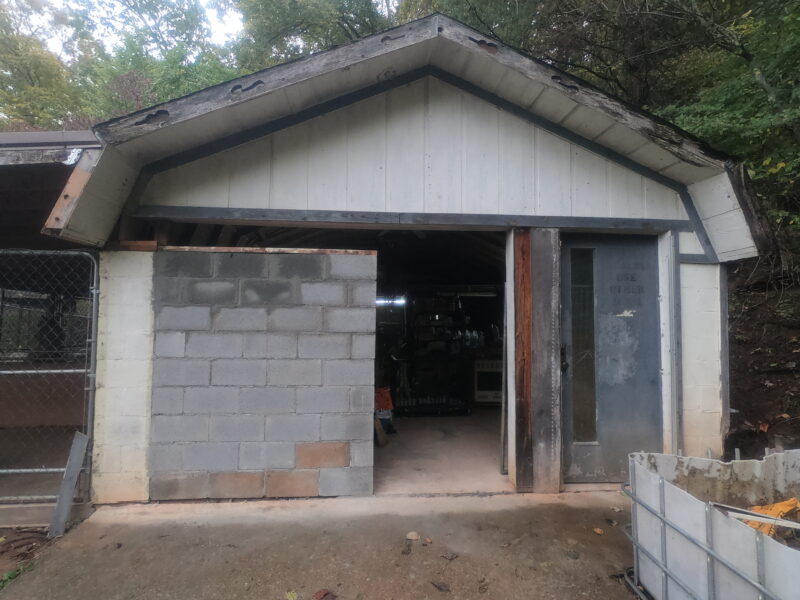
Roll up door removed and block wall complete.
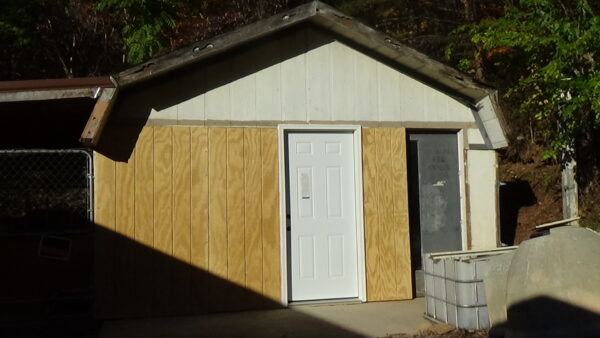
3 sheets of siding installed, new door framed and mounted.
Old door removed, window framed and mounted.
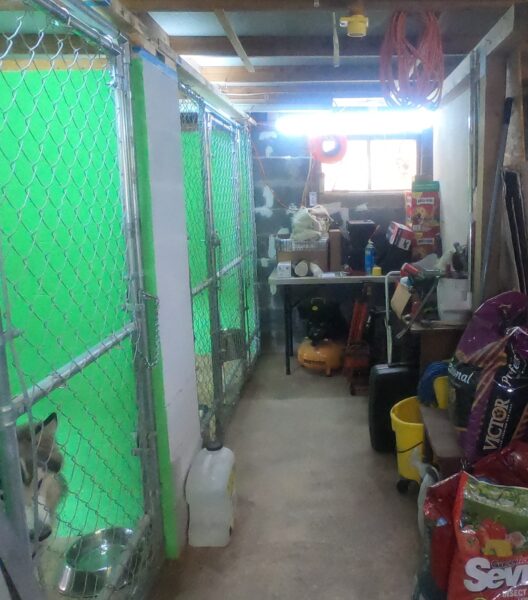
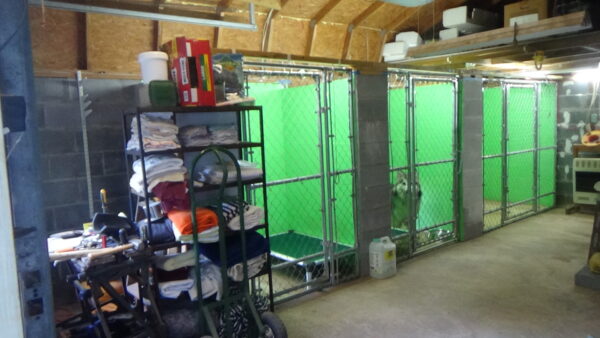
Now lets look at what’s going on inside.
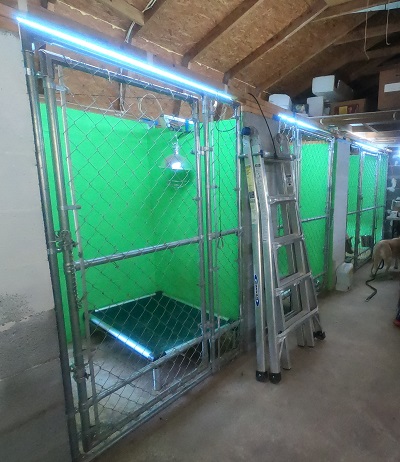
Inside kennels, also called their bedrooms
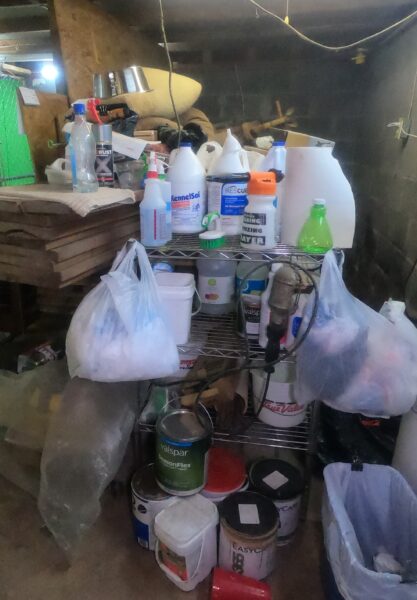
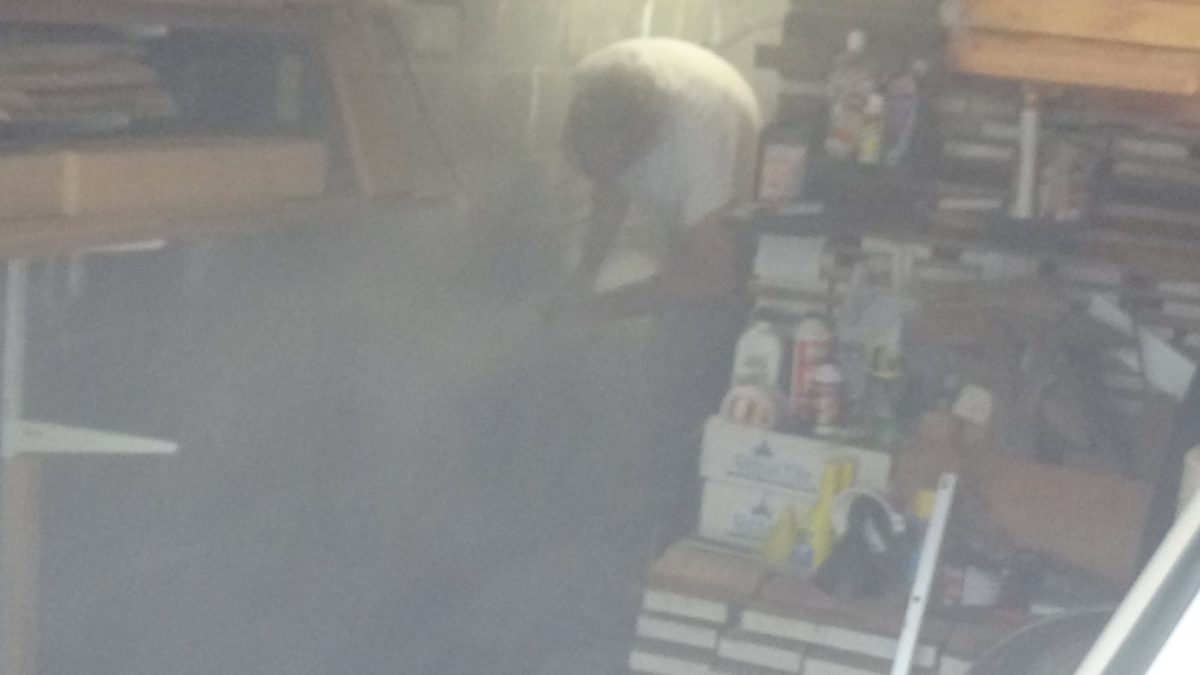
Temporary tool and supplies storage
Cleaning supplies and paint.
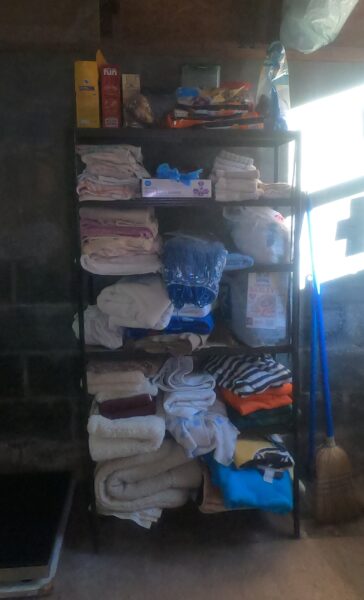
Blankets, bath towels, cleaning rags and treats (top shelf)
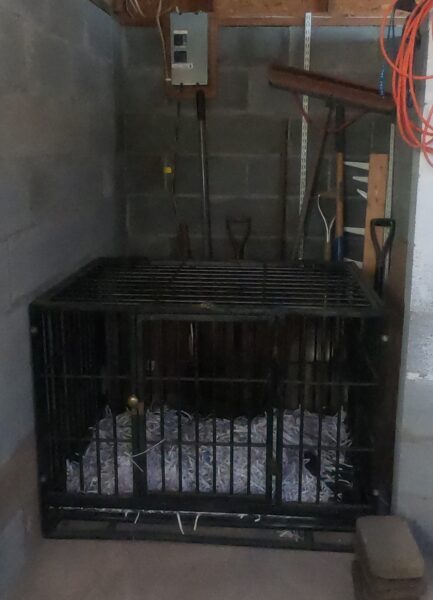
Temporary ICU
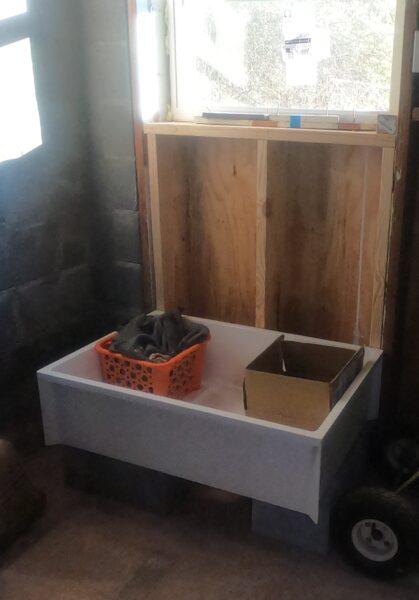
Mop sink / bath tub
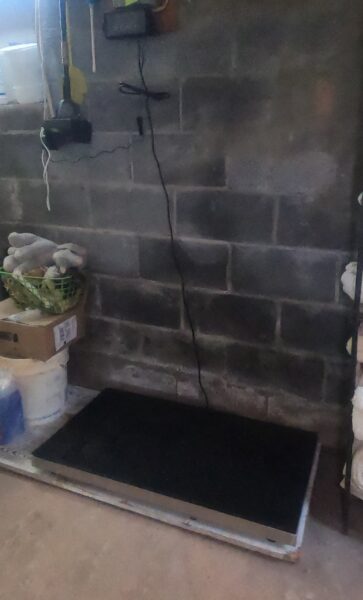
Platform scale
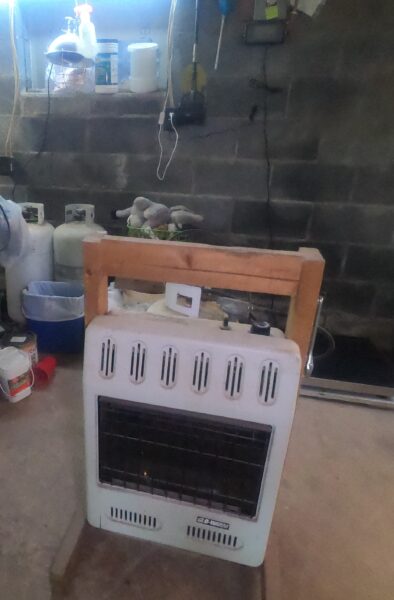
Portable Propane furnace
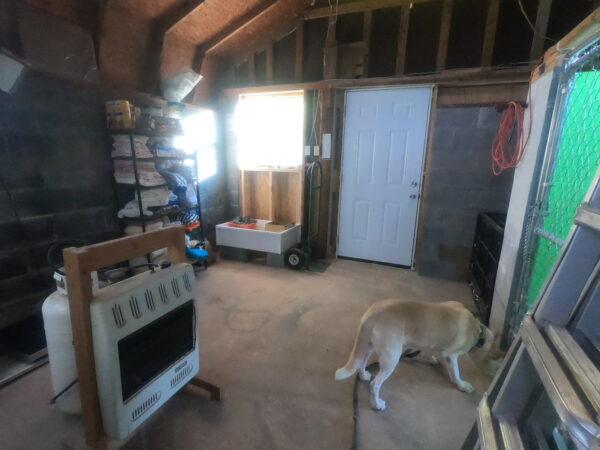
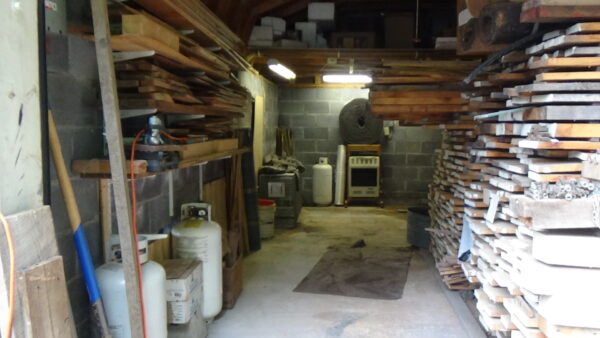
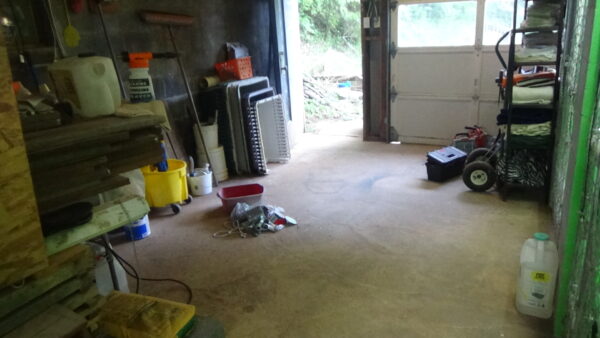
The main space
There is a lot of work to do inside. But now it can be done in relative comfort, and our residents can stay warm and snug at night. that will be done easier once we get the insulation installed. That, and redoing the electrical wiring, are next.
NOTE: this is a summary article of the work done in October, November, and December of 2020. More detailed articles (if you’re into minutia) are available in our Random Thoughts blog. Here is [a listing] of those.
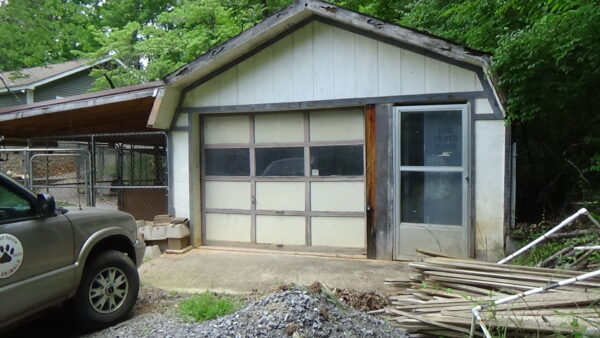
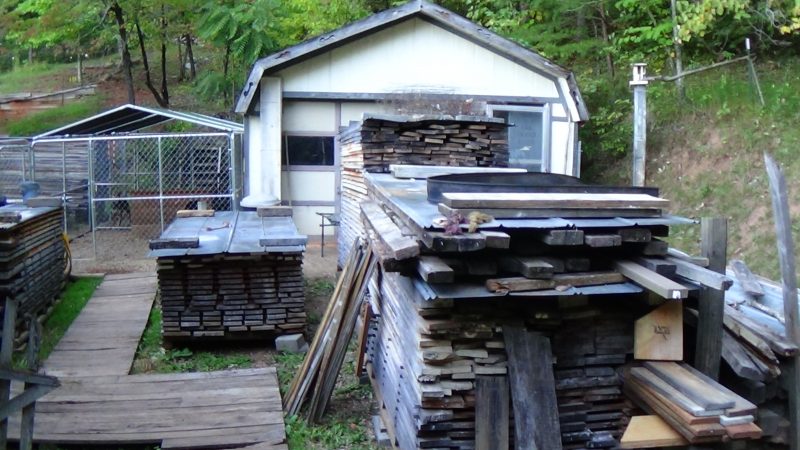
The building we’re converting.
The building we’re converting to kennels used to be a garage, then became a lumber storage shed. It needs modification to be truly useful (and comfortable) as kennels for our residents. The first order of business was to build “bedrooms” or interior kennels for each of the outside runs and an ICU room for our serious medical residents.
The first step was to sell off the lumber that almost completely filled the building. When the first stack sold I had room to walk and work all along the wall where the new kennels were to be built.
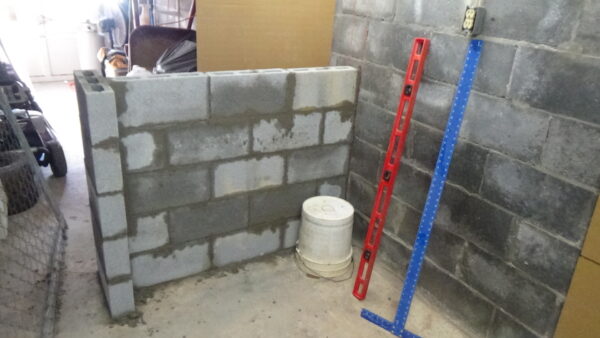
With room to work, I could begin building T shaped block walls separating the interior kennels. To conserve space I used 4″ wide blocks. I started in the back and worked my way outward.
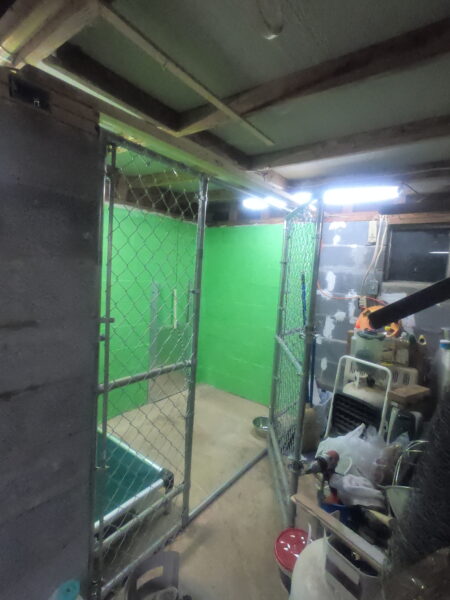
As they were completed I painted them, added guillotine doors to the outside, and built front panels with doors. I built these myself from chain link fencing materials. I also upgraded lighting as I went.
All three regular bedrooms completed. The one in the back will be meshed in between tops of the walls and the loft floor and used if I get a “climber”. The ICU room will be at the far left of the picture, but I can’t complete that room until I do something with that big hole in the front of the building. That is my next project.
Once I’ve sold off all but the last lumber pile, I have MUCH more room to work – and to store stuff. Selling that last one may be tough: it’s strange stuff like Holly. I’ll probably have to haul it outside and restack it on another rack to keep working.
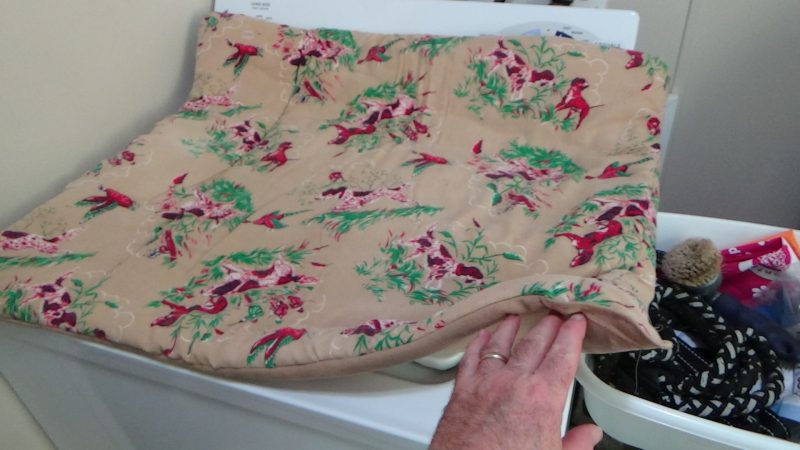
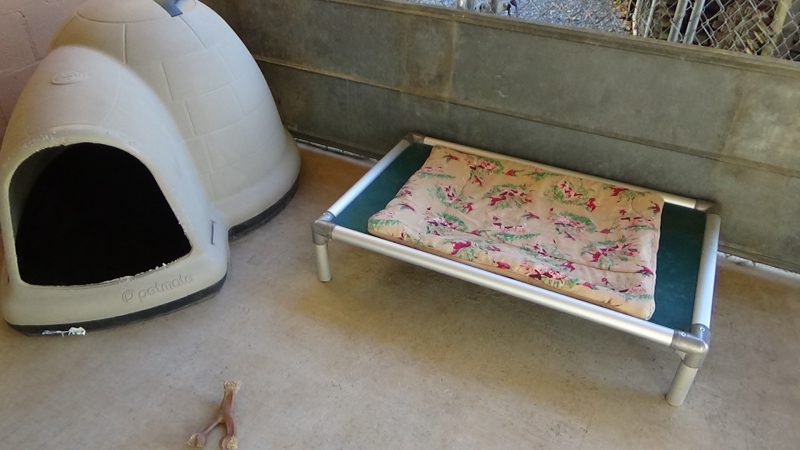
Last Thursday Marie completed a project she had begun some time ago: making some cushy pads for dog beds or dog houses for the outside dogs. These are two sided with batting in between like a quilt, but not quilted. She used normal fabric for the coverings, which may not last long. But she said, if they get some enjoyment out of them for a while it will be worth the effort.
When I set up Faith’s dog house I put the blankets she had in there already on top of the new pad for extra cush, and to protect the thin fabric of the new pad. I think she liked it.
Later, Marie went to visit with Fredia Haley, owner of Foothills of the Smoky’s Quilt Shop. Marie and Fredia had been talking dog beds for a while and Fredia donated to Piney Mountain Foster a bolt of sturdy upholstery fabric that will make many, dog pads that will stand up to use better. It’s even a great color for us!
Thank you Fredia!
Fredia saves fabric scraps for us to use as bed stuffing, but someone in her shop keeps throwing them out. (pout) But we appreciate Fredia just the same.
I put one in Rosco’s dog house too, but no sooner did I get his kennel door closed than he was in there shredding it. So his lasted maybe 40 seconds. Faith’s went several days before she started chewing the corners, and I suspect that was because she keeps her chew toys gathered in her dog house since I started putting blankets in there. She was probably chewing a toy and the pad got in the way. Once fiberfill peeks out dogs tend to find it great fun to pull that stuff out. She unstuffed a handful of it. I cleaned that up and wrapped the white blanket around the damaged end of the pad and she’s left it alone since.
Major’s pad has one small hole in because he plays with it a little, but he has not tried to unstuff it. Major seems the most civilized of the whole lot: keeping his kennel pristine and taking care of his comforts and toys. He was pleased to get it too (see the video above).
I’m sure Marie will be putting that bolt of fabric to good use, especially as the weather turns colder and having an insulated pad to sit on will feel great for them.
Want to help
save lives?
If you enjoy our updates, Doggy Tales, and educational articles consider subscribing for notices when new pieces are posted. It’s painless and you can unsubscribe any time you want. Your e-mail address is used ONLY to deliver these notices.
When Cochise first came to live with us we erected a quick sleeping shelter out of a wire fence panel, a tarp and an old barn door. It was shaped like the top of an old west covered wagon using the door as a floor and the fencing hooped over to support the tarp. Cochise quickly decided it was lots of fun to jump on top of his wickiup and flatten it out. This required that I crawl inside to push it back into shape with my neck and shoulders. It didn’t take long before we decided we’d best move on to a permanent structure.
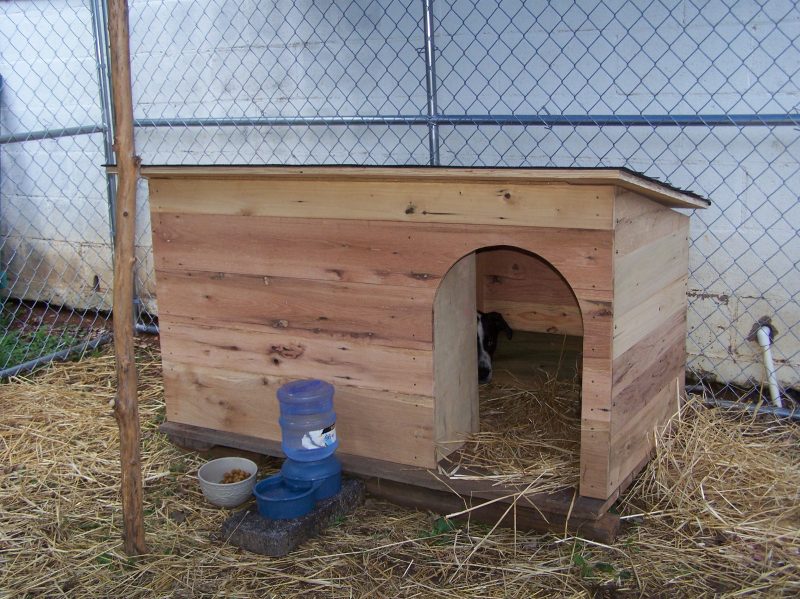
So Marie and I built Cochise a sturdy wooden cabin with a shingled roof that hinges up for cleaning the interior and an entry vestibule separated from his sleeping area by a wind baffle.
That cabin served him well until he became a full-time house dog. Then it served many other foster dogs. Some of these were none too gentle on it and repairs were made over the years, but it still stands and is quite solid … and very heavy.
Piney Mountain Foster Care is a fancy name that Marie and I have adopted for the efforts we make to help save dogs. All of our funding has come from our own pockets. The shelter or rescue the dog comes from provides needed medications, we buy the pens, dog houses, crates, bedding, dishes, treats, and toys. We also erected fencing to provide a contained space for training and play.
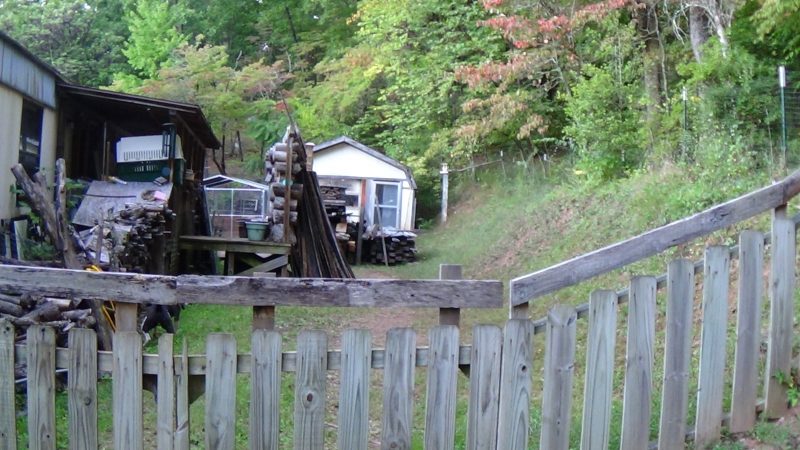
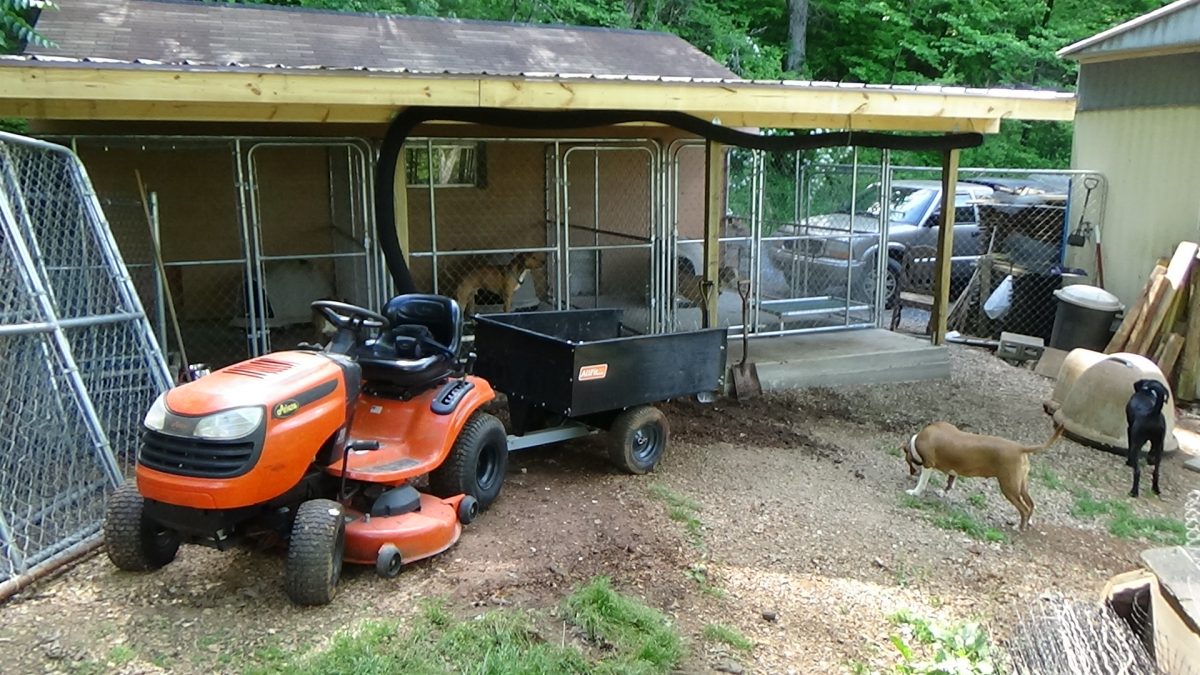
The Current Play Yard
Our current foster play yard is the space that also serves as the driveway to my workshop loading dock and lumber yard. It serves the purpose of giving the foster dogs some space to run and play. A place to work at training that cannot be done in their 10 x 10 pens. We installed Critter Fence along The Ridge to keep them in this space and that serves the purpose – as long as they’re not too determined in finding a way out. It can be thwarted! I amended the original wooden fence and gate across the driveway to give it enough height to keep the leaper/climbers in.
There is some grass, but it’s mostly gravel and slope. They don’t seem to mind: they’re just happy to get out of their pens and run a bit. A 10×10 covered pen with a dog house is better than they’re used to, but even that gets confining if you have to stay there.
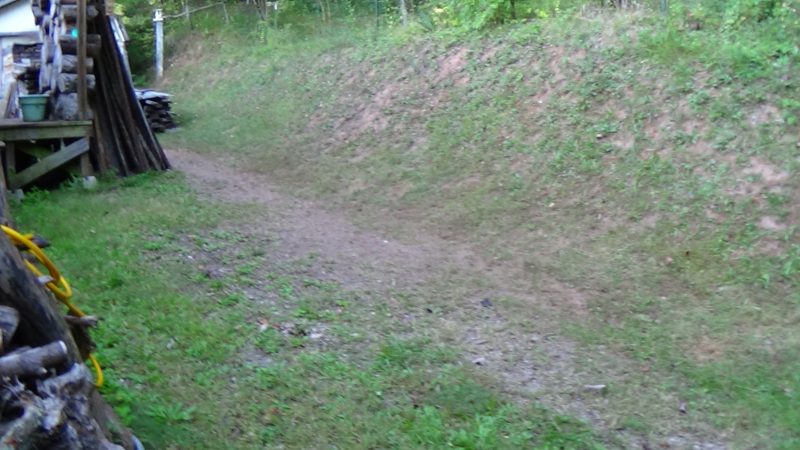
It does get mucky out here when it rains, so I built a boardwalk to keep all of us out of the muddiest part.
Currently we have two pens. As I sell off the lumber piles, we’d like to add more pens, but that would eat into the play space. So we have a plan…
Today I’m making up and installing top nets on kennels #1 and #2. Kennel #3 is already done, but because I was up against a deadline (inbound dog) I rushed that one and it’s not done as neatly as these are coming out. But it does serve the purpose of keeping (escape artist) Sable in her kennel. She has been up standing on top of her dog house to get a closer look at that net, but she hasn’t found a weakness yet
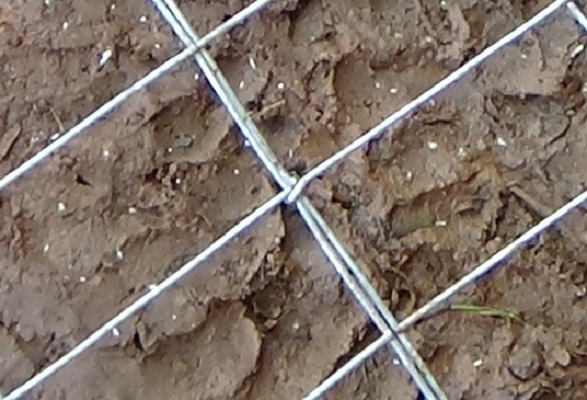
To keep things from falling apart should a weld break while I’m installing the net, I secure the end strands of wire. When I cut the fencing, I cut down the middle between vertical strands so I have tails to work with. Most of these I just fold over to hold things together, but the two at the end corners, I wrap around tightly to hold that joint together if that weld fails.
With two 10 foot runs of fencing cut and ends wrapped, I lay them side by side. Each run of fencing is 4 feet high (wide) so together they just cover the 8 foot wide kennels.
I stitch the runs of fencing together with 3/8″ hog rings. I install one every third juncture, and I install them diagonally – alternating directions of the diagonals so as a whole, the sheet of fencing is locked together and the two pieces cannot slide past one another.
Today I continued my task of digging a grave. A grave for a snake. A big snake: the infamous Drainaconda! But I wasn’t working alone, oh no, I had plenty of “help”.
We didn’t all show up at one time. My crew straggled in one or two at a time, beginning with Callie and Lennon, who wandered over to see what I was doing as I was setting things up and positioning the wagon for dirt hauling.
When I started digging, Sable stood and watched me for the longest time! I’m not sure if she was impressed by my digging prowess or amazed by the mess I was making.
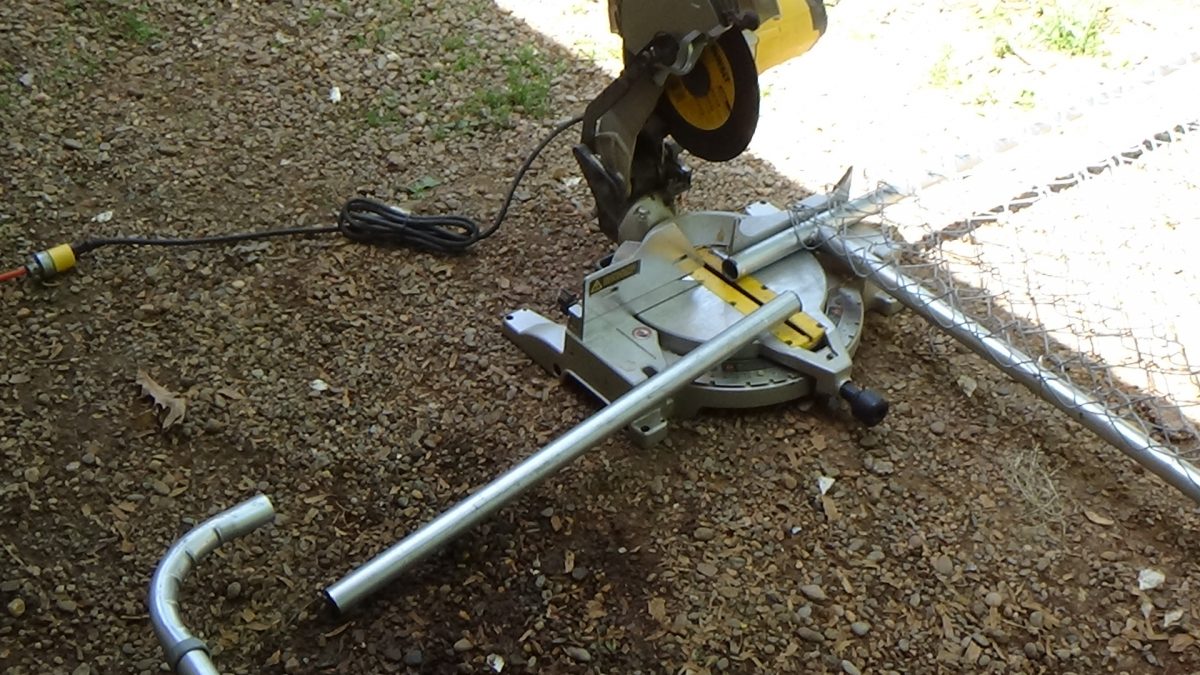
Work on the new kennels progresses. I spent yesterday afternoon figuring out how to cut down a 10’ wide door panel to be exactly 92¼” wide. I ran the math three times to be sure it was right because I only get one shot at this. If I mess it up I buy a new panel: or have one built to the correct size.
I started out cutting the tubing with a metal blade in a saber saw. A reciprocating saw would have been better, but I don’t have one. Almost immediately, I broke the blade. I had more, but it was clear that this was not going to be as easy as I hoped. The only way to do this – in this manner – was to run the saw around the tube, not cutting across the tube from one side to the other.
I did get the first three cuts done that way, but it took a long time and was nerve wracking – and not especially neat. Then the bulb lit up.
I went in the shop, put my metal cutting blade on the chop saw and dragged that saw outside. I’ve used this many times to cut the steel tubing I’ve used in trellises. I used that to make the inboard cuts and it went MUCH faster and did a much neater job: just needed some work with a file to remove the thin scruff that is left on the back of the cut so the splice tube fits over the pipe.
I also found that I was able to re-use the retainer clips that hold the end rod (it fits along the ends of the chain link) to the vertical pipe and the ends of the mesh. These bent steel bars use a special tool to form them around the pipe and fold a tab over the rod, kind of like a giant staple. I don’t have that tool. But I have a big pair of channel locks. I was able to unbend the part that folds around the rod and pop the clamp loose. Then after I cut the tubing and reassembled the frame with splice tubes I unstitched a run of the chain link to remove the excess, inserted the rod in the end loops of the mesh and pulled it tight by hand while I popped the clamp strips back in place. Folding the tabs back over the rod with channel locks and securing the top and bottom of the mesh to the rails with fence ties finished the job.
Now that the exterior new construction of our Big Doins project has been completed, it’s time to start bringing the kennels back together … well, almost. There is one more step to complete first but it’s not construction so much as destruction.
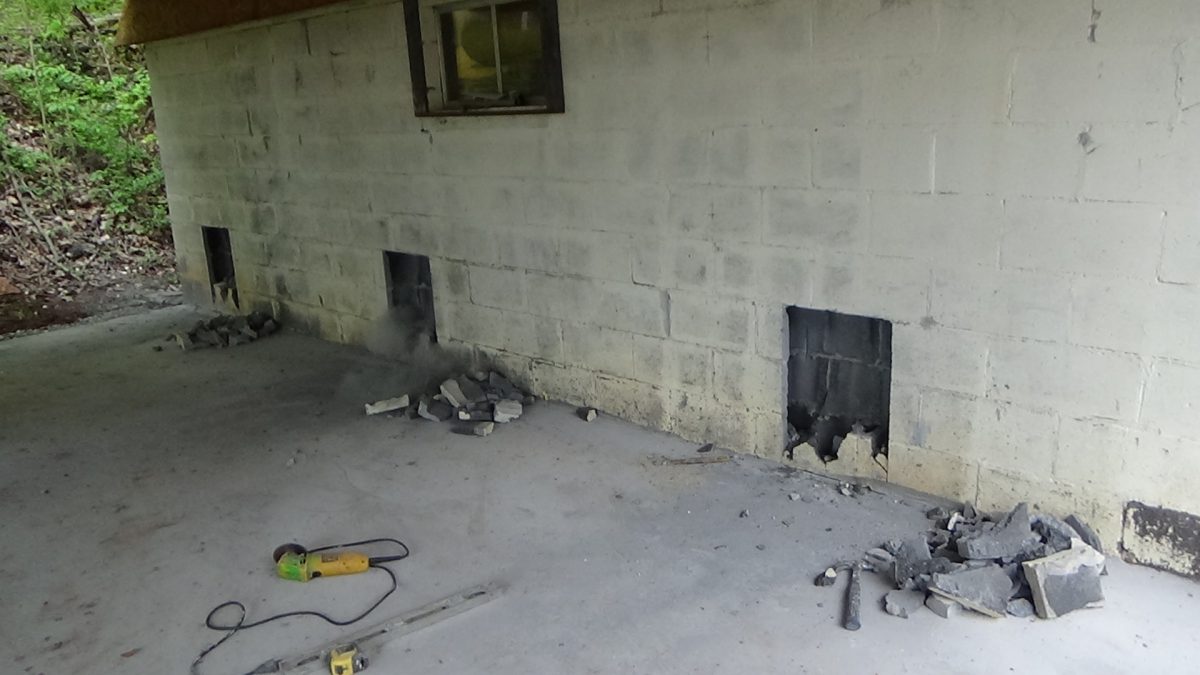
John Kaprocki brought his concrete saw and is cutting doggie doors.
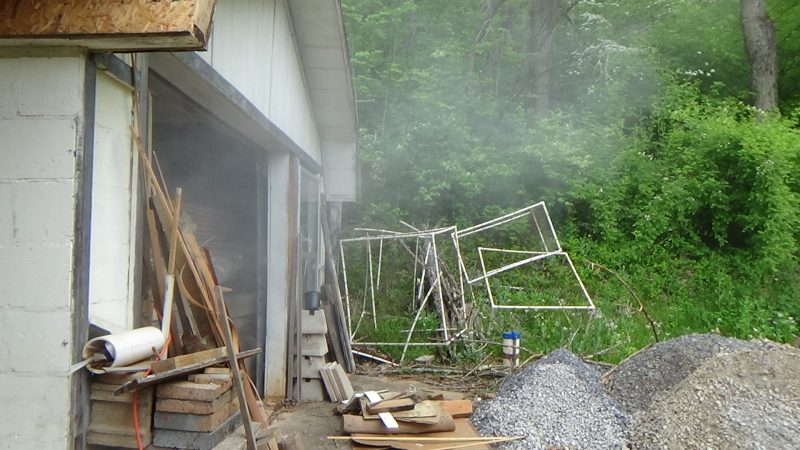
Cutting concrete makes a LOT of dust!
We set up a big fan to help blow the dust out.
VIDEO
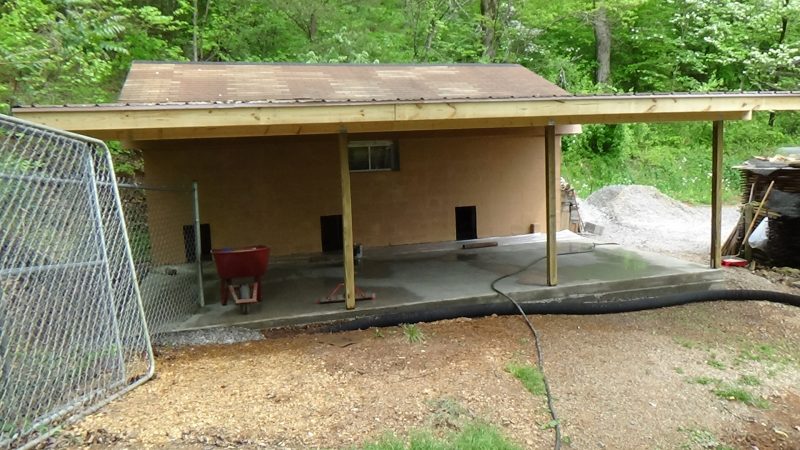
With outside and inside cuts made and the block removed it’s time to pretty things up.
Holes made, rubble removed, wall and pad power washed.
Wall painted and panel mounting hardware installed.
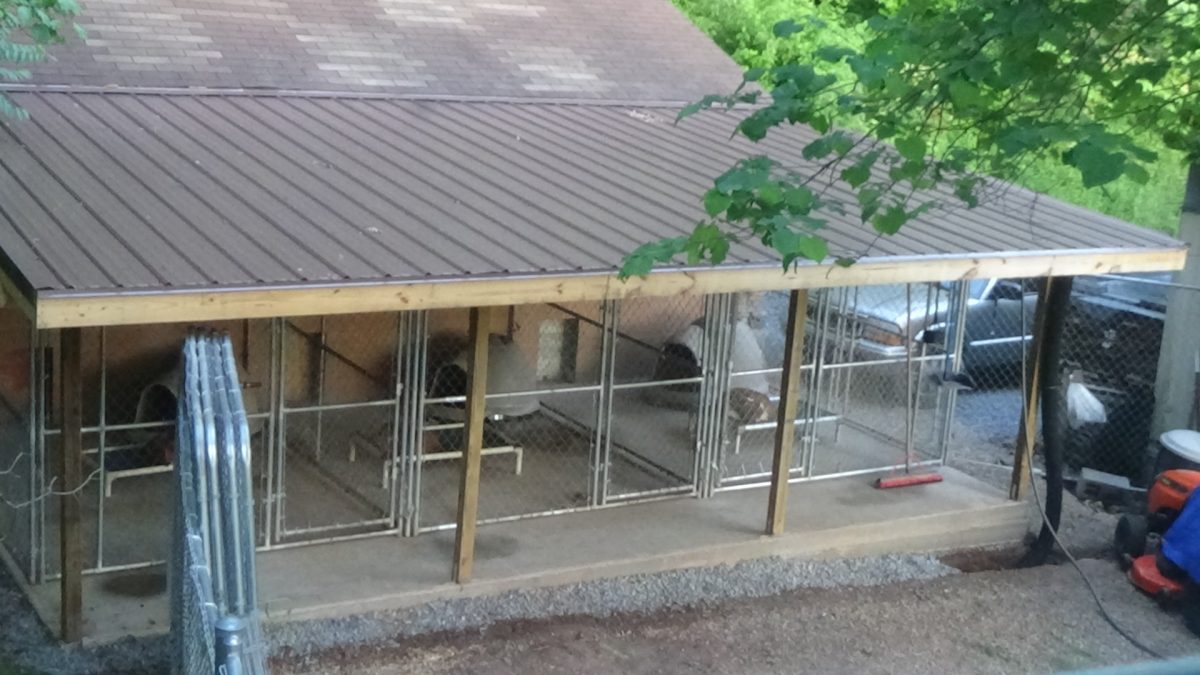
Kennel panels going back in.
Rocky and Blaze move into their new rooms.
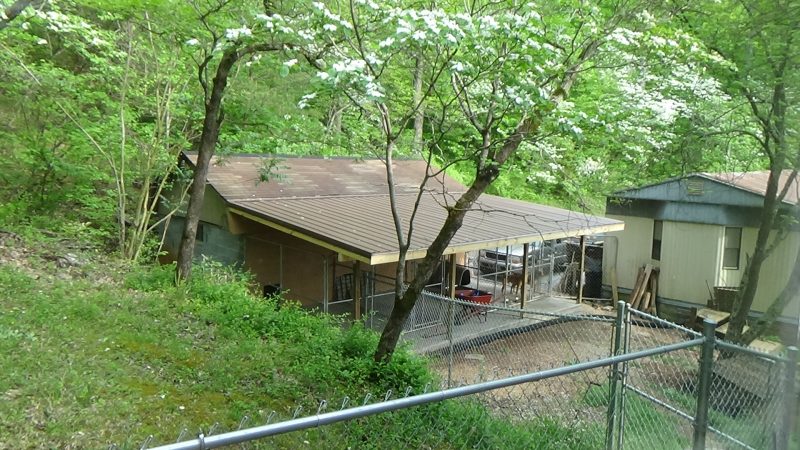
An idyllic cabin in the woods for homeless canines.
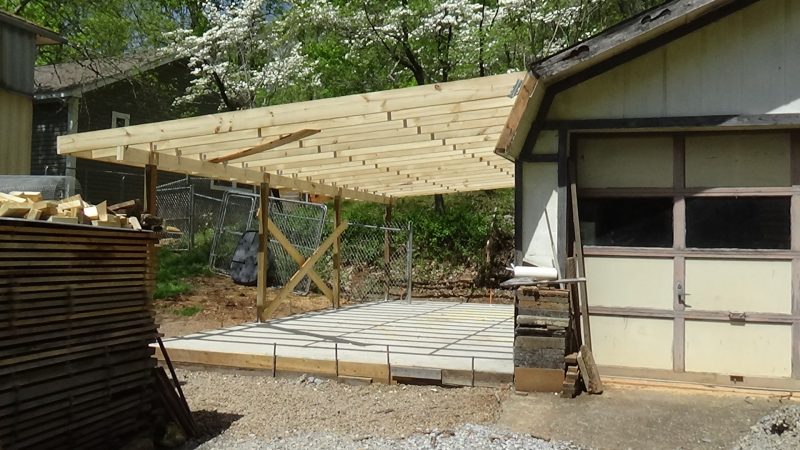
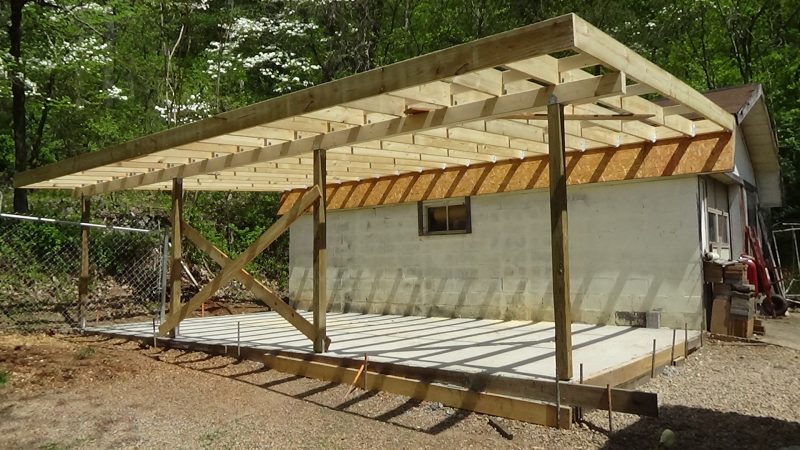
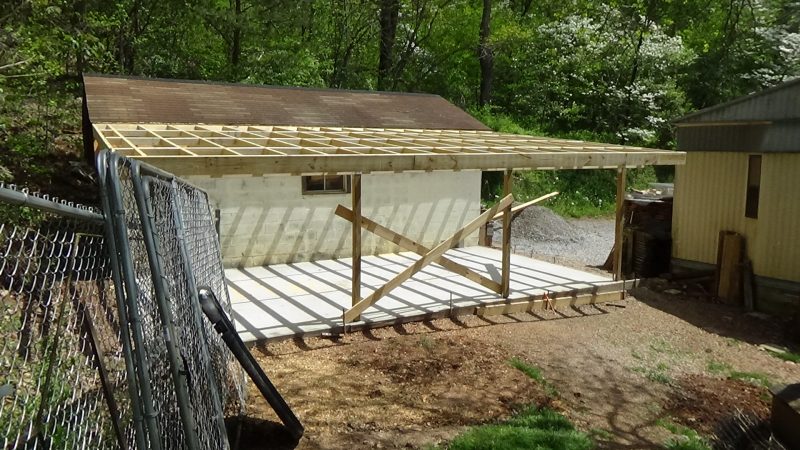
John Kaprocki of Great Smoky Mountain Woodworks and I spent all day yesterday and half a day today framing up the roof for the new kennels in our Big Doins on Piney Mountain project. John is an expert at this stuff, I just try not to get in his way.
Actually John did comment on how much faster these things go with two people than with one. And it is not as physically straining. Let’s face it, tossing a bunch of 16 foot long 2x8s (in Southern Yellow pine) up on top of the beam and ledger is rough enough with two of us horsing them around, doing it all day long single handed would be murder.
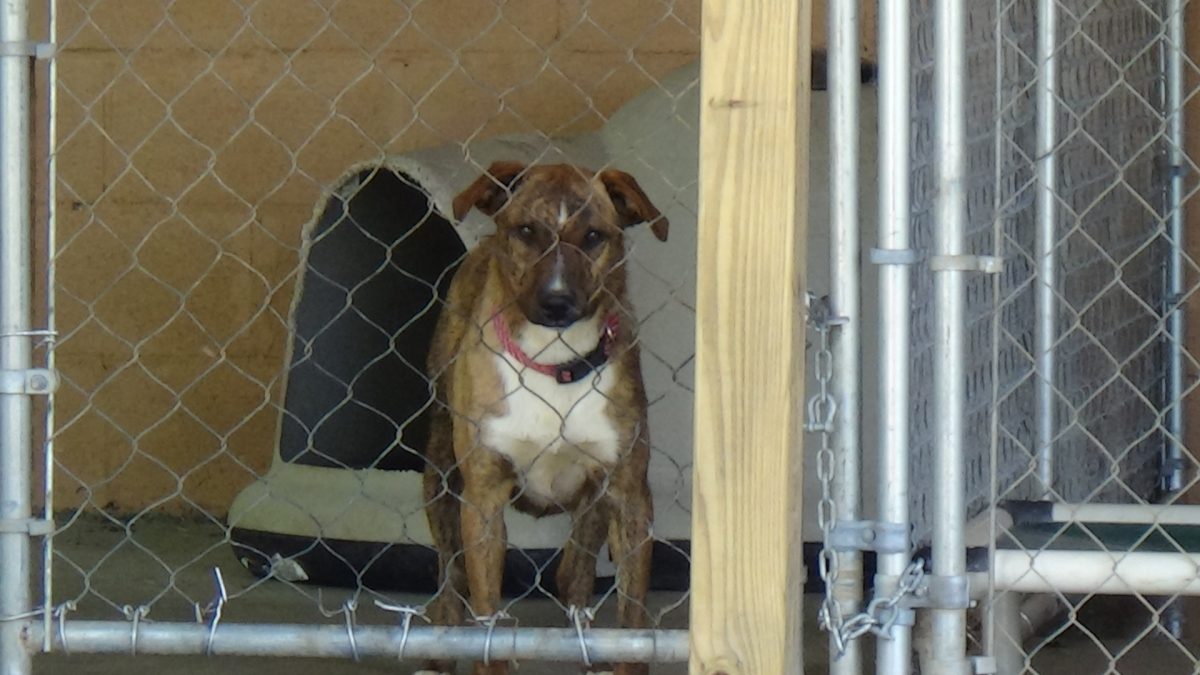
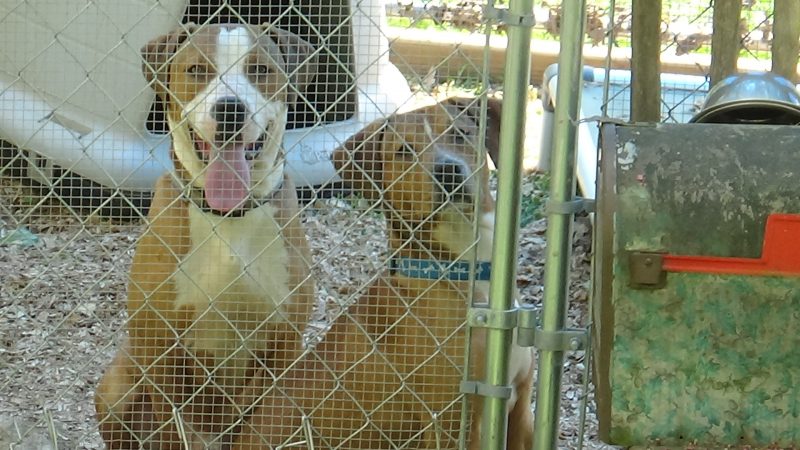
Building Inspectors
Blaze and Rocky watched us work both days and were not disruptive at all, they seemed genuinely interested in what we were doing. Maybe Blondie has explained to them that Robert, Terry, John, and I are building them a new house. I think Blaze LIKES that idea!
I have ordered the metal roofing and it should be ready to pick-up on Monday. We should be able to get a fair bit of that done Monday. The big issue will be how fast it warms up up there on our hot tin roof.
If you enjoy our updates, Doggy Tales, and educational articles consider subscribing for notices when new pieces are posted. It’s painless and you can unsubscribe any time you want. Your e-mail address is used ONLY to deliver these notices.