Work on the new kennels progresses. I spent yesterday afternoon figuring out how to cut down a 10’ wide door panel to be exactly 92¼” wide. I ran the math three times to be sure it was right because I only get one shot at this. If I mess it up I buy a new panel: or have one built to the correct size.
I started out cutting the tubing with a metal blade in a saber saw. A reciprocating saw would have been better, but I don’t have one. Almost immediately, I broke the blade. I had more, but it was clear that this was not going to be as easy as I hoped. The only way to do this – in this manner – was to run the saw around the tube, not cutting across the tube from one side to the other.
I did get the first three cuts done that way, but it took a long time and was nerve wracking – and not especially neat. Then the bulb lit up.
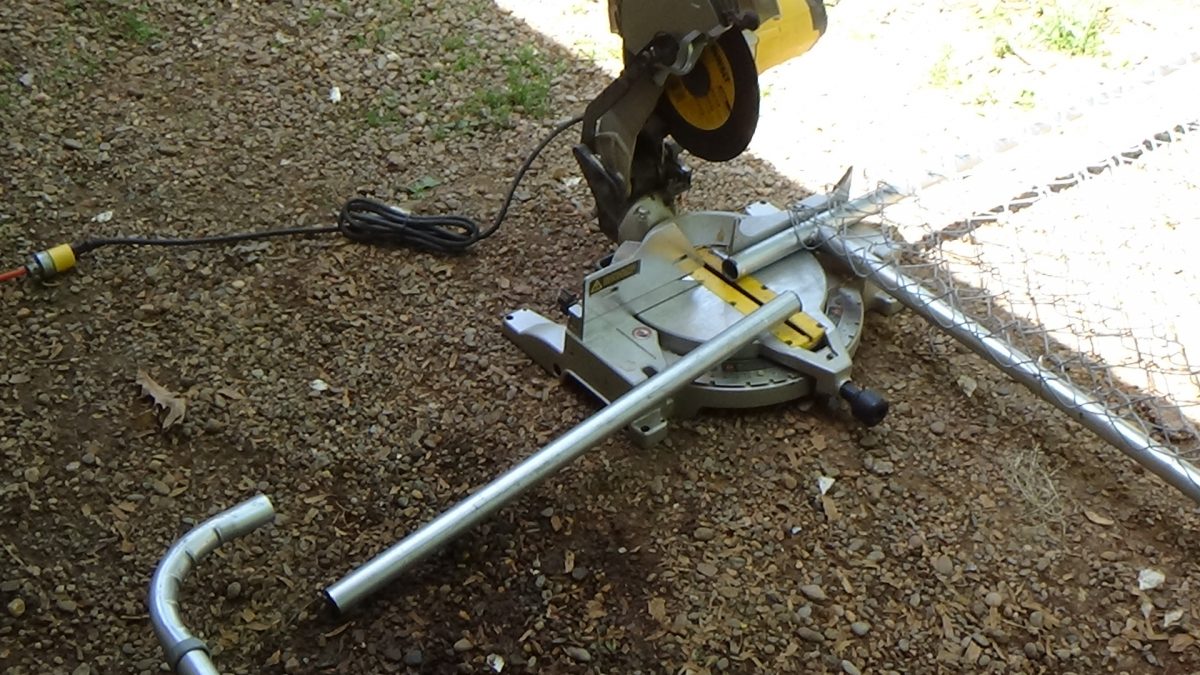 I went in the shop, put my metal cutting blade on the chop saw and dragged that saw outside. I’ve used this many times to cut the steel tubing I’ve used in trellises. I used that to make the inboard cuts and it went MUCH faster and did a much neater job: just needed some work with a file to remove the thin scruff that is left on the back of the cut so the splice tube fits over the pipe.
 I also found that I was able to re-use the retainer clips that hold the end rod (it fits along the ends of the chain link) to the vertical pipe and the ends of the mesh. These bent steel bars use a special tool to form them around the pipe and fold a tab over the rod, kind of like a giant staple. I don’t have that tool. But I have a big pair of channel locks. I was able to unbend the part that folds around the rod and pop the clamp loose. Then after I cut the tubing and reassembled the frame with splice tubes I unstitched a run of the chain link to remove the excess, inserted the rod in the end loops of the mesh and pulled it tight by hand while I popped the clamp strips back in place. Folding the tabs back over the rod with channel locks and securing the top and bottom of the mesh to the rails with fence ties finished the job.
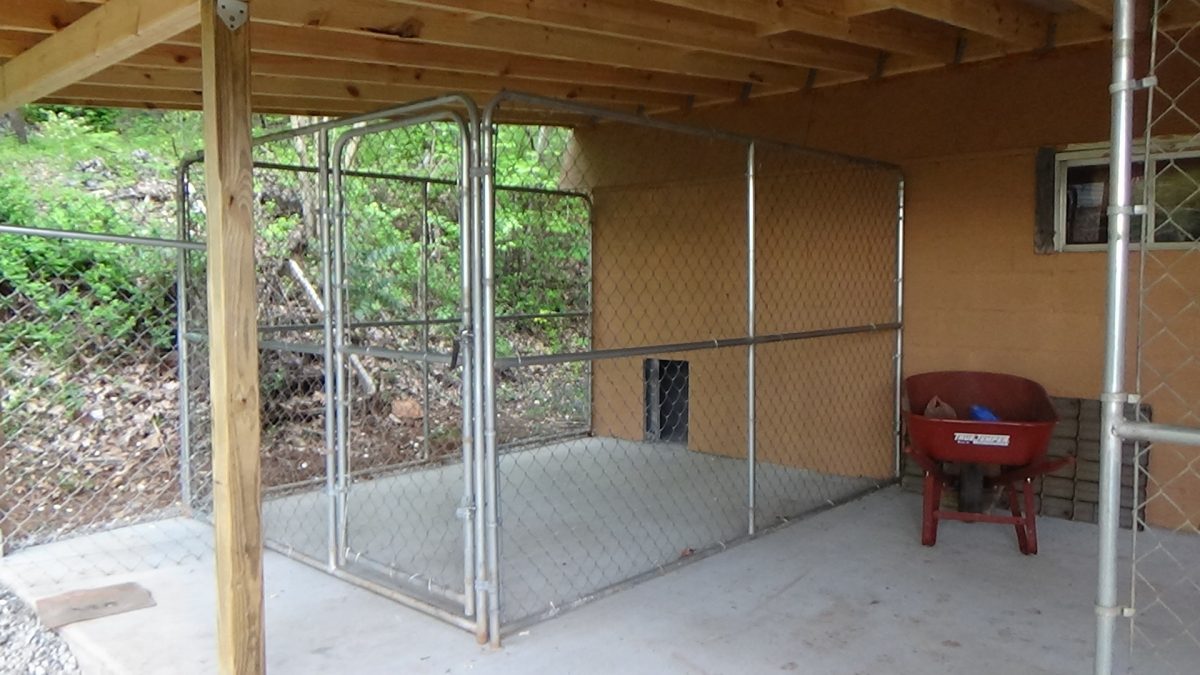
The front panel fits perfectly. All that remains is to install the wire mesh over the top (to thwart climbers) and Kennel #3 is ready for habitation. Which is good because our Intake Coordinator wants to bring me another dog Monday.
Rocky and Blaze are still Kennel #1, which has a full size front panel tacked into place. Now that I know how to do this I’ll cut down the front panel from the newest kennel and install it on that kennel. I could not do this earlier because Rocky and Blaze were IN that kennel while I installed the panels at each end of the kennels that make up part of our play yard fence.
I’ll also replace the side panels on K#1 and K#2 with the three side panels from the good kennel (these have the fine wire mesh installed on their lower half to prevent dogs grabbing the chain link with their teeth and deforming it). The back side panel (far side of K#3 is in good shape, so I can add the mesh to that one and all will be protected. The door panels for K#2 and K#3 are another matter: they’re pretty chewed up. I’ll need to have them re-chain-linked before I can install the protective mesh. Now that I’ve learned to manipulate those bent-in-place clamps, I can probably do that myself – as long as I don’t break any.
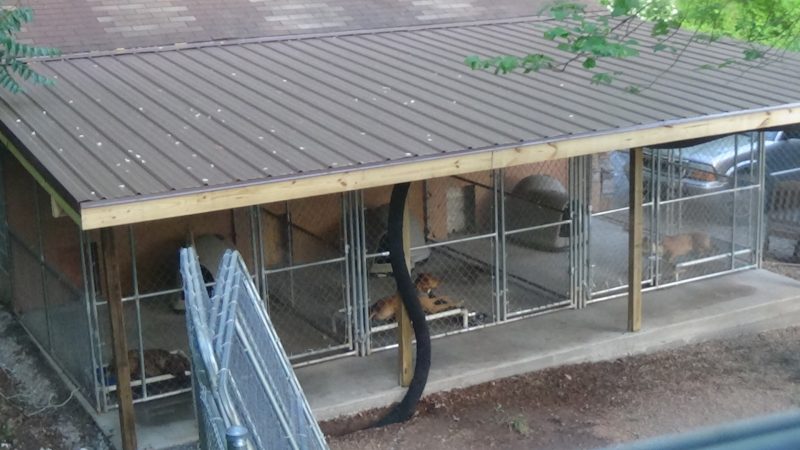 It took one whole morning to cut down the first gate panel, the second morning I got both of the other two cut down and installed. Da Boyz each have their own room now and are doing will with that change.
I need to finish digging in that drain line and this phase of The Big Doins will be done.
| If you enjoy our updates, Doggy Tales, and educational articles consider subscribing for notices when new pieces are posted. It’s painless and you can unsubscribe any time you want. Your e-mail address is used ONLY to deliver these notices. | [email-subscribers namefield=”YES” desc=”” group=”Public”] |